Hugging Face is a web-based neighborhood with AI fashions obtainable for obtain. You possibly can deploy choose laptop imaginative and prescient fashions hosted on Hugging Face with Roboflow Inference, a high-performance inference server for laptop imaginative and prescient functions.
This information will present you how one can obtain fashions from Hugging Face and deploy them to the sting or a non-public cloud utilizing Roboflow.
Supported Weights for Roboflow Deployment
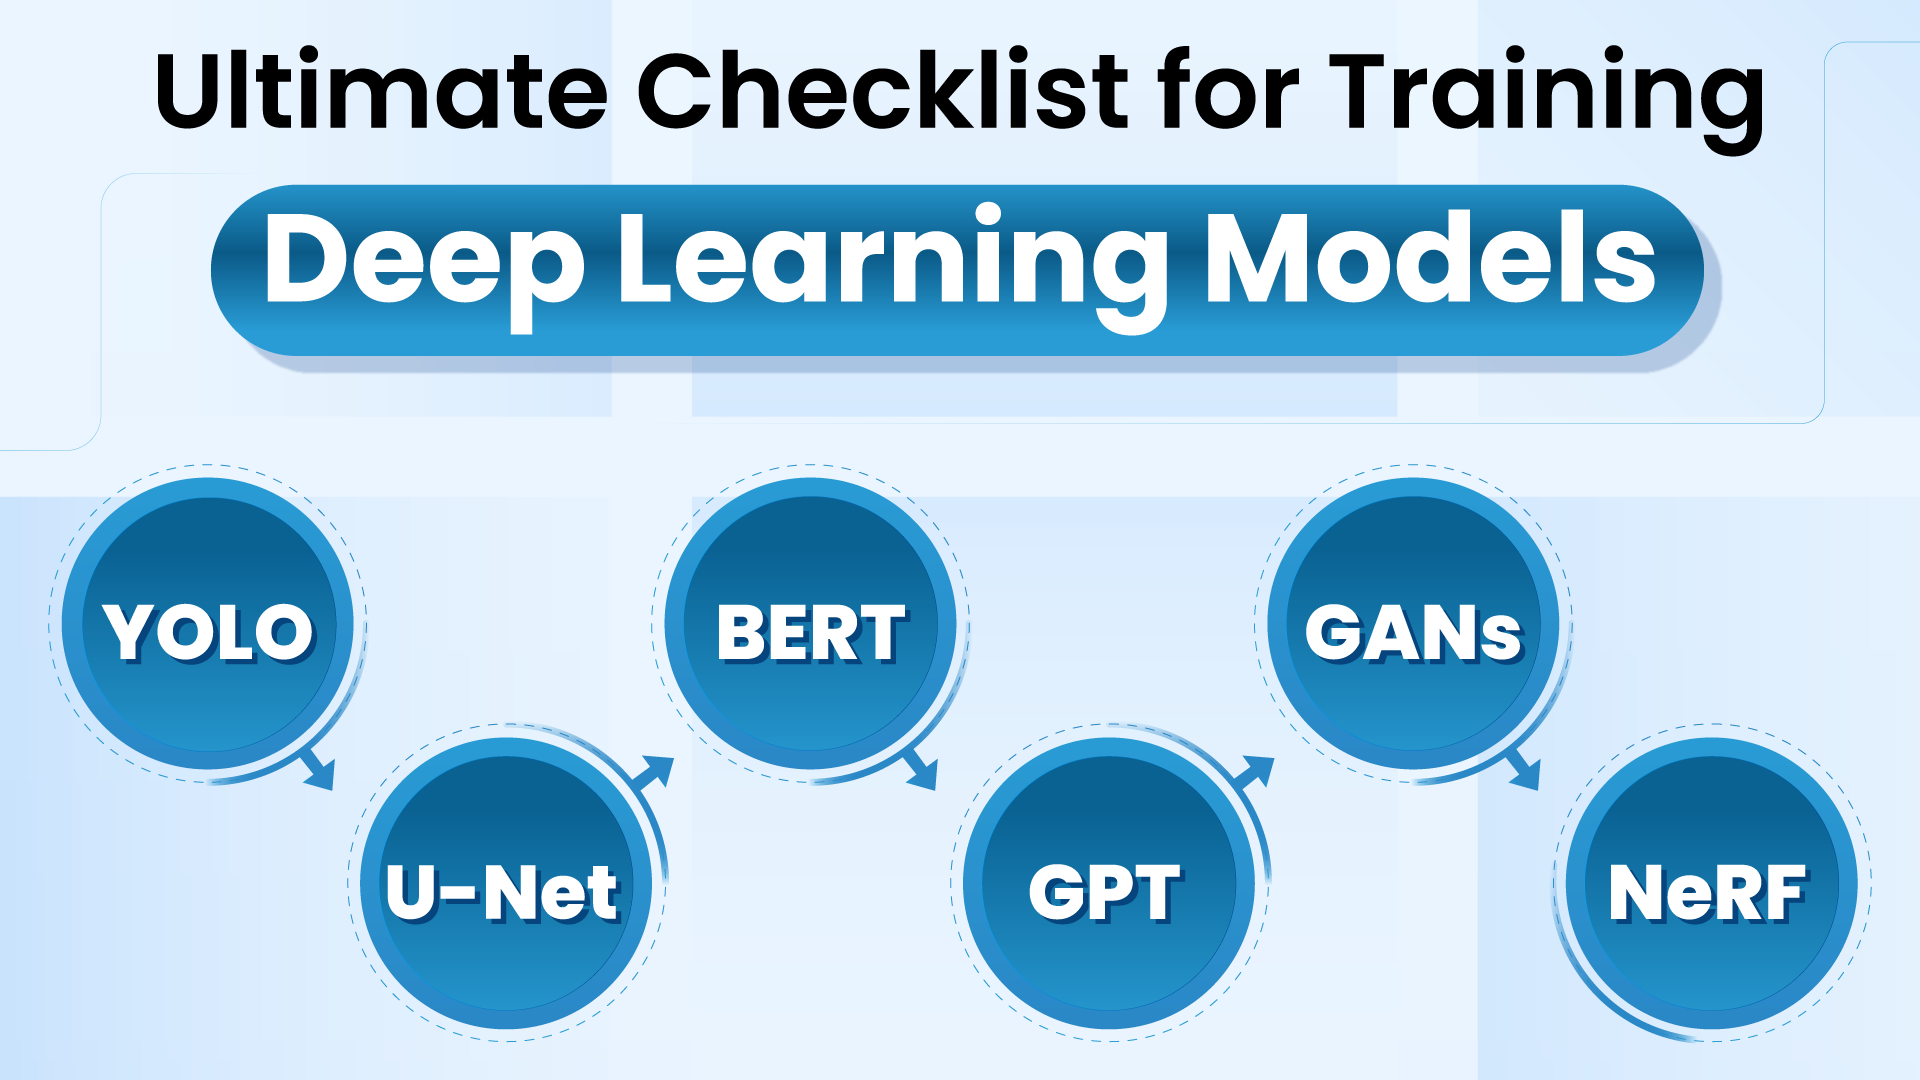
As of penning this submit, Roboflow helps a lot of imaginative and prescient mannequin architectures, which embrace:
- YOLOv5 (n, s, m, l, x) Object Detection and Occasion Segmentation
- YOLOv7 Occasion Segmentation (yolov7-seg)
- YOLOv8 (n, s, m, l, x) Object Detection, Occasion Segmentation, Classification, and Keypoint Detection
- YOLOv9 (n, s, m, l, x) Object Detection
- YOLOv10 (n, s, m, l, x) Object Detection
On this information, we’ll present how you can deploy an Ultralytics YOLOv8 mannequin for instance. For a whole record of fashions you may add to Roboflow, try the Weights Add characteristic within the Roboflow documentation.
Step #1: Select Your Mannequin from Hugging Face
Go on Hugging Face and discover your mannequin weights. The mannequin ought to have weights or a skilled file connected to it. On this tutorial, we’ll use the default Ultralytics YOLOv8 weights on Hugging Face.
Step #2: Obtain Git and Git-LFS
To export a mannequin from Hugging Face, we might want to set up Git and Git-LFS. Git-LFS permits us to obtain bigger git information, which is required for downloading weights.
To obtain git on Mac:
# run this command in terminal
brew set up git (should have brew put in)
brew set up git-lfs (should have brew put in)
Linux Ubuntu/Debian:
# run this command in terminal
sudo apt set up git
sudo apt set up git-lfs
Fedora:
# run this command in terminal
sudo dnf set up git
sudo dnf set up git-lfs
Step #3: Obtain Mannequin Weights
With git, we will obtain the mannequin weights. Utilizing the hyperlink of our most well-liked mannequin, the command ought to comply with this format:
git clone https://huggingface.co/<consumer>/<mannequin>Right here is the command we have to run to obtain the mannequin weights we’re utilizing for instance on this information:
git clone https://huggingface.co/Ultralytics/YOLOv8/ We are going to then have the weights regionally, prepared to be used.
Step #4: Add Dataset and Mannequin to Roboflow
To add a mannequin to Roboflow, it’s good to have the dataset related along with your mannequin in your account.
You possibly can add annotated or uncooked laptop imaginative and prescient knowledge in over a dozen supported codecs. See our record of supported add codecs.
Go to Workspaces and create a Undertaking. Customise the venture identify and annotation group to your alternative. Make sure that to create an object detection venture if you wish to comply with this information.

Subsequent, add your photographs to the dataset. I used a dataset for detecting people close to a railroad monitor.

If it’s good to annotate your photographs, you are able to do so in Roboflow. Roboflow gives an in depth suite of instruments for annotating photographs. Study extra about Roboflow’s annotation instruments.

Now that we now have our annotations and pictures, we will generate a dataset model of your labeled photographs. Every model is exclusive and related to a skilled mannequin so you may iterate on augmentation and knowledge experiments.
All fashions are related to a dataset model. As soon as we now have a dataset model, we will add mannequin weights related to our dataset.

Now that we now have our dataset, we will add our related mannequin weights and deploy our mannequin.
Step #5: Add Mannequin Weights
Within the Hugging Face information you cloned over, you must see one with the final two letters as “pt”. That is your mannequin.
Substitute the next mannequin data with your personal mannequin kind in addition to the trail to your skilled mannequin.
To get the mannequin, first go to the variations tab and click on customized Practice and Add.

Subsequent, choose the kind of knowledge you need. Each mannequin is skilled on totally different knowledge varieties. Due to this fact, we have to specify which sort of information we want. In our case, we want YOLOv8. After deciding on YOLOv8, click on get snippet.

Copy and paste the code into your most well-liked IDE.

Subsequent, to be able to deploy the mannequin, we make the most of the .deploy technique and specify the mannequin path in addition to the dataset model.
from roboflow import Roboflow
rf = Roboflow(api_key="API_KEY")
venture = rf.workspace("nathan-yan").venture("project-id") venture.model(VERSION).deploy(model_type="yolov8", model_path=f"content material/runs/detect/practice/")
The output of the code ought to look just like this:

It should take a couple of minutes for Roboflow to course of your mannequin weights. You possibly can test on the standing of your deployment within the Roboflow dashboard.

When your mannequin is prepared, you will note an interactive Visualize web page within the Roboflow dashboard from which you’ll check your mannequin. To navigate to the web page, click on on visualize in your dashboard.
To deploy the mannequin utilizing code, go to the deployment web page in your dashboard and deploy the mannequin with inference.

Subsequent, we have to set up inference and supervision to be able to deploy an efficient mannequin.
!pip set up inference supervisionCopy and paste your inference deployment code and ensure to exchange the picture path with a check picture.
# import the inference-sdk
from inference_sdk import InferenceHTTPClient # initialize the consumer
CLIENT = InferenceHTTPClient(
   api_url="https://detect.roboflow.com",
   api_key="API_KEY"
) # infer on a neighborhood picture
end result = CLIENT.infer("IMAGE_PATH", model_id="humans-m1zdv/7")
We are going to use this picture as a check picture for now.

Lastly, present the detections by changing the picture path to a picture, and utilizing bounding field annotation to indicate the detections.
from PIL import Picture
import supervision as sv # Load the picture utilizing PIL
image_path = "IMAGE_PATH"
picture = Picture.open(image_path) # Convert the PIL picture to a format suitable along with your annotation library (e.g., NumPy array if wanted) # Create detections from inference outcomes
detections = sv.Detections.from_inference(end result) # Annotate the picture with containers and labels
annotated_image = sv.BoxAnnotator().annotate(
   scene=picture.copy(), detections=detections
)
annotated_image = sv.LabelAnnotator().annotate(
   scene=annotated_image, detections=detections
) # Plot the annotated picture
sv.plot_image(annotated_image)
Conclusion
You possibly can deploy laptop imaginative and prescient fashions skilled utilizing supported architectures to Roboflow from Hugging Face. For instance, you may add a YOLOv8 object detection mannequin to Robfolow. This mannequin can then be deployed with Roboflow inference, a excessive efficiency laptop imaginative and prescient inference server.
By following the steps outlined on this tutorial, you may deploy Hugging Face fashions to the sting or in your personal non-public cloud for real-time object detection techniques.